This shows how a large wooden roof lantern can be supplied flat packed, assembled on the roof and fitted to the pre-prepared up-stand.
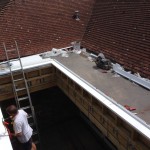
The first thing to do is assemble the plate using the connector bolt and a PU glue, fix it in place onto the level, square up-stand, then bead it down onto an ISO-BLOCO 600 expending tape, which we can supply, or a good mastic.
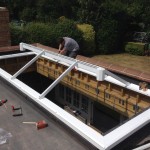
You can then start to fit the ridge and rafters into the set locations. They are all pre-drilled making this very straight forward.
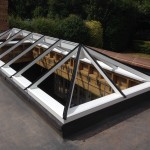
When all the hips and rafters are in place you then fit the gasket to the top of all items using the location groove to form a bed for the double glazed units.
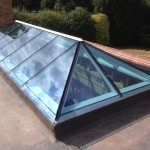
The next thing is to lay the double glazed units onto the gasket with the stepped pane sitting onto the timber lip, making sure they are centered between the rafters.
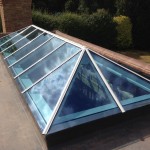
Lastly fix down the aluminum capping starting with the ridge section, then onto the rest of the rafter capping, finishing with the four hips with the larger Hip/Valley gasket.
Sit back and enjoy the view……
Medina Joinery are committed to giving our customers as much technical specification and advice as we can to help you get the best from your products. Please find on our website a list of useful data sheets, dimensions and technical info. Feel free to download any of this information as you need it. Most of the files are in Adobe pdf format. If you don’t have the reader installed, you can download it for free from www.adobe.com
If you have any further questions regarding the supply or installation of a timber roof lantern than please don’t hesitate to contact us.
